For best SEO performance, the default schema provided by the Genesis Framework may not be the best thing to use. Other Schema plugins do so much more than the one that Genesis Framework provides, plus they come with a ton of easy to use features. With the default Genesis Framework settings dashboard, you get no control over any schema and you can’t customize it to your blog’s content type. This blog post will walk you through the beneficial features of the Schema Plugins that are compatible with the Framework.
To get a detailed explanation of Schema and its benefits, do take a look at the following blog post: What is Schema? Beginner‘s Guide to Structured Data
Without further ado, let’s get to the plugin(s) and how to customize schema markup on your blog. You have freedom to make certain pages or categories use a different type of Schema markup depending on what content/services you provide. More on that later.
- Also Read: How To Set Up The Yoast Premium SEO Plugin
How To Get Better Schema
First things first, you will need to install 2 plugins. The first plugin is Schema Removal, which removes schema markup from the Genesis Framework. The 2nd plugin is the actual schema plugin that provides a way better markup. Go ahead and install the Schema plugin and activate it. This is the plugin we need to edit the settings on.
The Settings
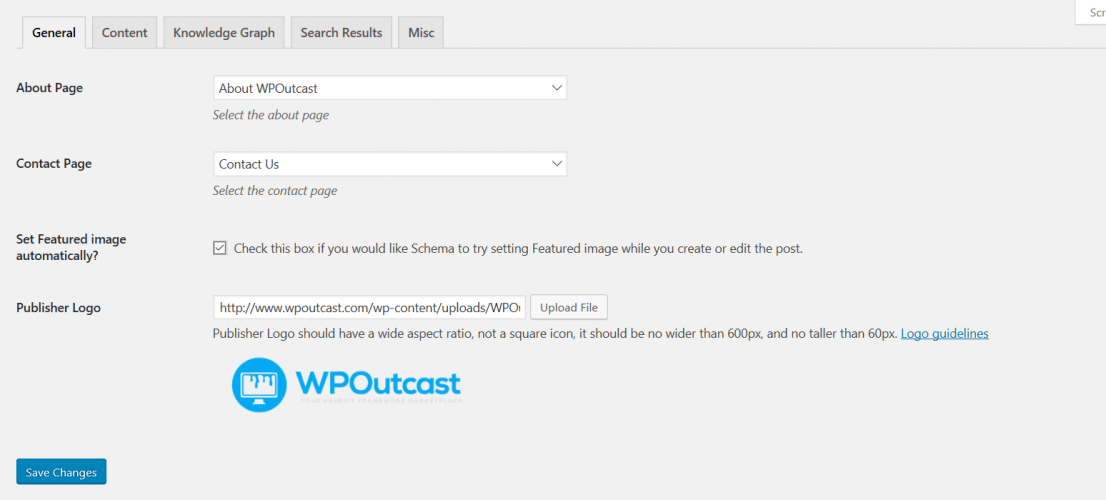
This section is the most important section to fill out correctly. You should have an about page created already as that is an unwritten rule when owning a blog. You can refer to this blog post on the About Page for tips on writing a great one. In the Schema, just your about page will be available in the drop down menu so select that. Next, select your pre-populated contact us page. I’d recommend using the Contact Form 7 plugin to create one.
2 places to get professional logo’s created at an affordable price
Put a checkmark on the featured image and upload your logo image again. Save settings and you are done with this one section.
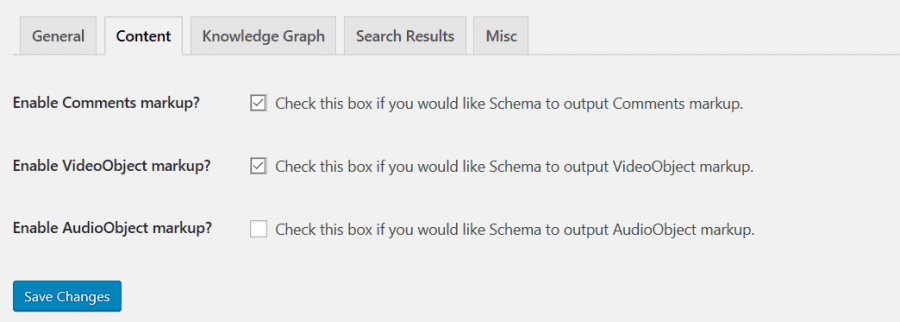
Moving along to the “Content” section.
Floating to the “Knowledge Graph” section.
This section helps in regards to your logo/name showing up in search results someday. It’s not a guarantee but this plugin gives your blog the correct markup and will continue to be updated if Google makes any changes. This plugin is an SEO expert that costs nothing and uses the best Schema for SEO purposes.
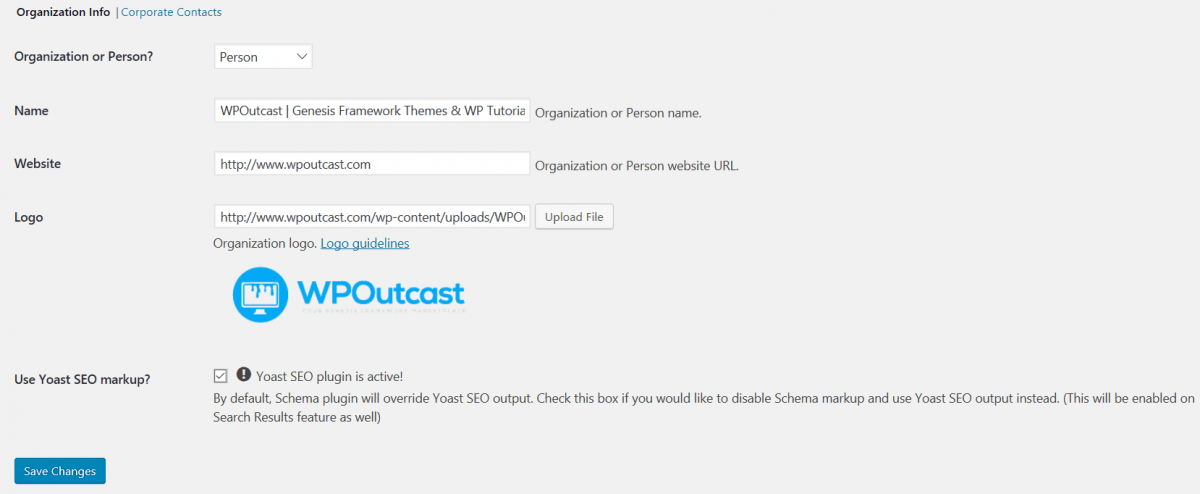
Click on the “corporate” link to edit more information. Fill out as much as you can, even if your blog is not a ‘company’ blog. WPOutcast is not a company at this time.
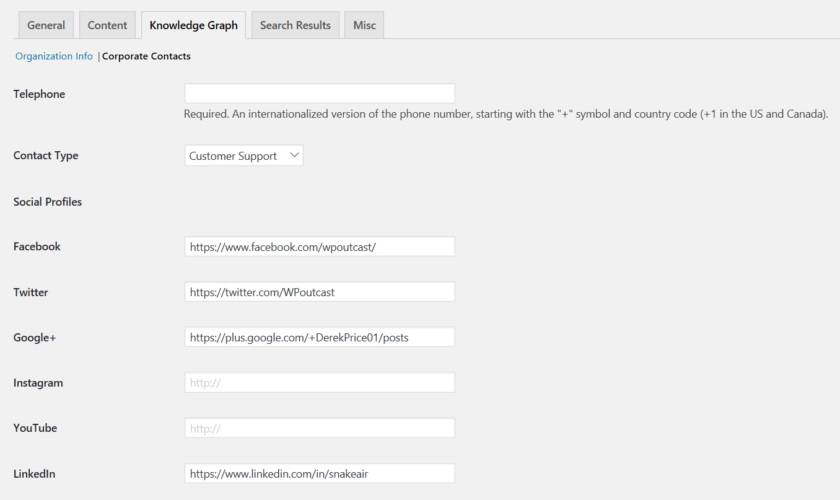
This is where you can select certain things to be shown when Google does grant you real site links.
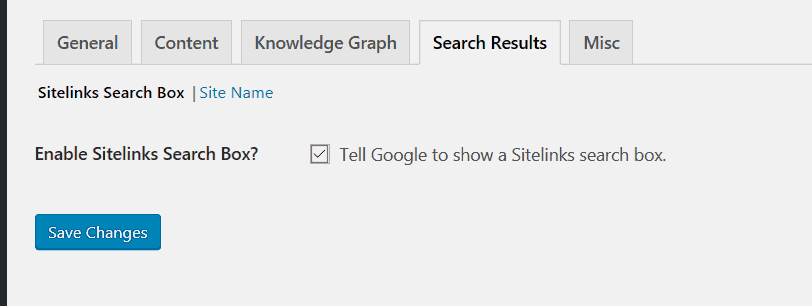

The Misc. section is just a box to check so that all “internal settings” and files are deleted when uninstalling the plugin. Let’s move on to the page and post part of this plugin.
Schema Types
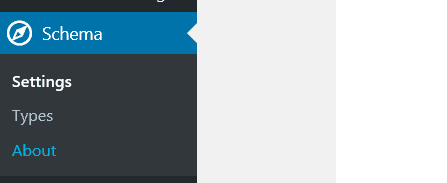
Click on that setting and since I edited this plugin already, I will create some test stuff. The page looks just like your post page section. See an edited copy below.

Click on “Add new” at the top of the page to create schema markup for your blog categories. Note that you have to create 1 for each category that you have created and create 1 page for the blog pages. You can see in the image above, I have one page and the rest are blog categories. I should have named the blog categories a little better for this example. You can use custom schema markup for each blog category depending on what you write in there. That’s the magic of this Schema plugin.

Looking at the image below, those are the current schema markup types you can select for each blog category. I have the same one for all blog categories because of the content I write, plus, I carefully made my decision for what’s best for this blog.

The image below is self-explanatory. Create one of these pages for each blog category. When you are done, you need to create 1 page for the blog pages, like done so below.
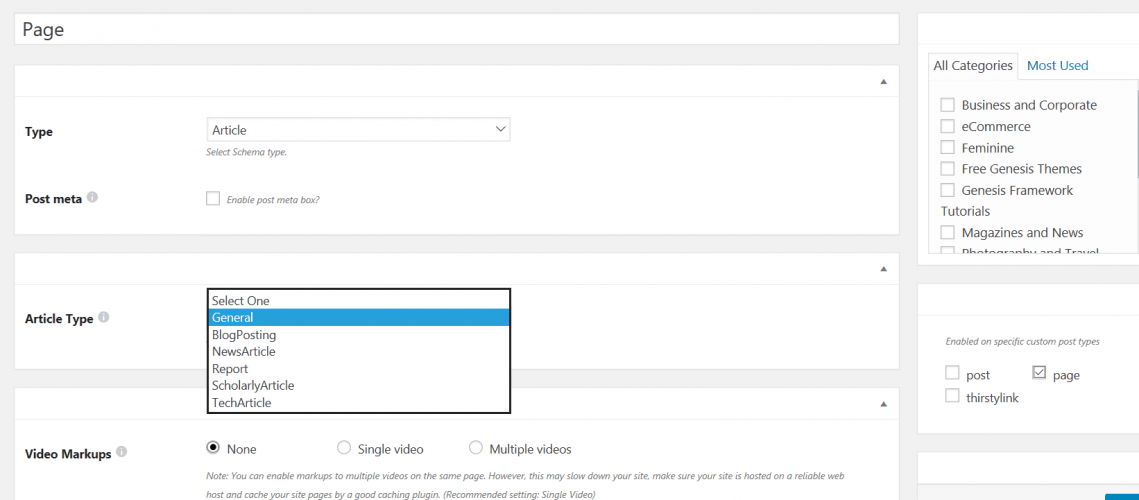
This concludes the simple set up of the schema plugin. This plugin has way better markup than the default Genesis Framework. You get control over you Schema in so many ways. Plus, this plugin has improved so much since it was created. I was actually 1 of the first 15 people to download this plugin when it was launched as I am subscribed to the plugin owner’s businesses.
I’ve seen the improvements upon each update.
If this blog post was helpful to you, do consider sharing it online with your followers.

Very interesting and informative post.thanks for useful article.
Thanks for giving a Interesting Post.