It is important after installing WordPress and your desired theme to set up the discussion settings page.
This page is your first line of defense against unwanted comments and spam. Without it, comments go live to your page without being approved, exposing your followers to spam or unsavoury content. In addition to the settings below, it is recommended that you install and activate the Akismet Plugin. This is an excellent plugin that flags any content that might be spam and sends it to a ‘spam comments folder’. You can review this folder or simply delete everything in it when the folder grows too large.
If you already have that plugin installed, that’s great but how secure is your blog? Check out this blog post for more ways to protect your blog from online threats.
Now, let’s get to the discussion settings that WPOutcast is currently using.
Discussion Settings
Check off the box’s in the below image but don’t hit save yet. There are a few more steps I want to take you through before you hit ‘save settings’.

Now we’ll move on to another section, but we’re not done with this page just yet. We’ll come back to this section at the end of the post for a bonus tip!

Avatar Section
Scroll down to the bottom of the discussion settings page. Notice how you can enable avatars, choose a rating, or select a default one. WPOutcast has changed the default avatar to its blog’s logo image. Code works perfectly for the genesis framework.
- Also Read: How To Add A Gravatar To Your WordPress Blog
![]()
Now save your settings in the discussion settings page. If you want to replace the default comment avatar with your own, which I highly recommend, read this tutorial on how to Replace the Default Comment Avatar for step by step instructions.
Will You Allow Guest Blog Posts?
The best role to choose for guest bloggers is the contributor role. Don’t worry, they won’t be able to post content without your approval. When you log in to your dashboard, any guest posts will be in the ‘pending approval’ section. Here you will be able to review and approve guest posts if the post meets your blog’s guest blog posting guidelines.
To enable this service, go to the ‘settings’ tab in your dashboard and make the following two changes.

Following the steps, there will be no content posted to your blog without your approval. This allows you to give your followers the best possible experience. If you hire an editor on your blog, the pending review blog posts will then be looked over by your editor before being published. It is recommended all guest blog posts be reviewed by yourself or your trusted editor to make sure it passes your quality guidelines and is in fact an original piece.
Plugin To Use With Staff

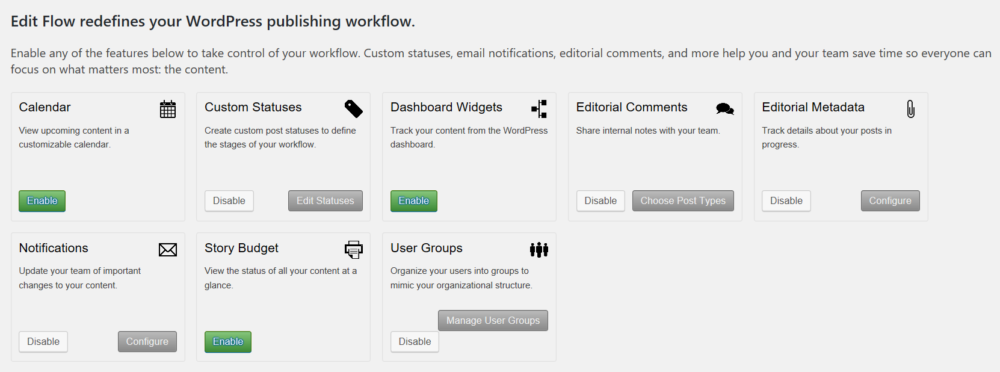
There is one plugin that I use because I have 1 staff member and this plugin the way I use it makes things run smoothly. It’s called the Edit Flow plugin. It’s a free plugin and comes with good features. The main feature that is key to organizing content is the post status one. When I put a blog post in a certain status, my editor knows that it needs to be removed and moved to pending status for myself to schedule it. Here is a peak at what I got now.

I have not even tapped into the other features yet. The plugin is free to use.

Check out this plugin when you have some time, If you have any questions, please ask me as this plugin helps my writer know what work needs to be done.
If this tutorial was helpful, please consider sharing it online with your followers.

Leave a Reply