A huge perk of not using a default WordPress theme is it allows you to add personal touches to your blog. Us blog owners are always tinkering around with coding and features to add a new plugin or customize a page. But there is one page we all forget about; the WordPress Login Page.
Although this page has low views, it could still use customization. Add your blog’s logo instead of the default WordPress logo and link your logo to your blog’s homepage. This can be achieved with 2 codes. We’re also gonna toss in a bonus code for the login page! Little things like this, that people don’t typically notice, help brand your blog online.
If you’re looking for a new logo image, try hiring a freelancer.
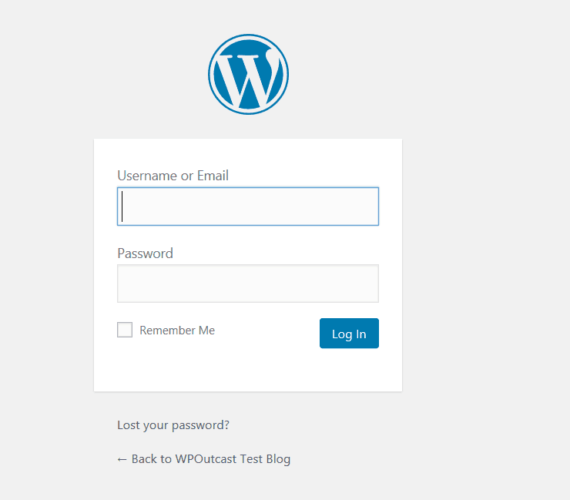
Here is the typical login page.

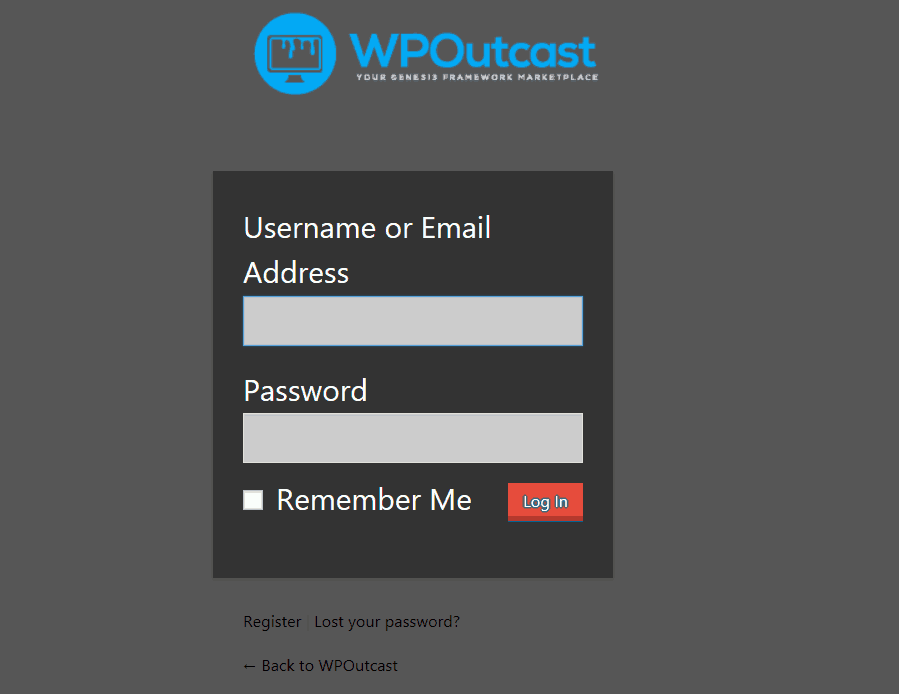
Let’s be honest here, that page looks boring and unprofessional. For us Genesis Framework customers, the fix to customize the login page is very simple. Upload 2 codes and an image to a certain directory with a certain file name. Here is the new look of WPOutcast’s login page. The logo links directory back to our homepage if clicked on. The default login page logo links to the WordPress homepage.

Note that I didn’t resize our logo to the specified dimensions like I will instruct you to.
Backup Your Blog Before Touching Code
It is strongly recommended by the WordPress community and especially by myself to back up your blog before touching any code. Even WPoutcast has added new code incorrectly and had to revert back to a backup. Luckily, I didn’t lose any content because the backup was only a few minutes old. Our current web host, Cloudways, has a built-in backup feature. With one click, you can back up your entire blog! You can also change your Cloudways setting to back up your blog every 24 hours. This ensures WPoutcast doesn’t lose any valuables.
My recommendations for backup plugins to use if your host does not provide this feature
When WPOutcast used to be hosted on HostGator, I think there was a feature in the cpanel to make full backups of your hosting account or file manager. Check out this support document or ask live support if HostGator has options for backups in the cpanel. Again, always backup your blog before touching any coding.
The day you don’t make a backup could be the day something goes horribly wrong. I’d rather loose a few hours of data then a weeks worth.
Customizing the Login Page
Open up your functions.php file and paste this code at the very bottom of it.
// Adding the function to the login page
add_action('login_head', 'custom_login');

// Our custom function that includes the custom stylesheet
function custom_login() {
echo '';
}
Save settings and not we need to create a new .css file to upload via. FTP login to your hosting account.
The recommended logo size looks perfect at 311px wide by 100px tall. Save the logo image as “login-bg.png“. Upload the “login-bg.png” image to your themes images folder. This means you need to FTP login to your hosting account and navigate to the themes folder.
Ex: /public_html/wp-content/themes/themename/images/
If there is already a “login.png” image in there, over-write it as this will replace that image with your custom logo image.
Do not upload the image through your admin dashboard as that is the wrong directory and will do nothing.
Open up “notepad” and paste the following code into this new text document.
/* The background
* This can be image or color, note the !important at the end.
*/
body {
background-color:#555 !important;
}

/* Title image (The "WordPress Logo") Mus use image as a Background!
* Remember to update the height and width your image's dimensions
*/
#login h1 a {
background:url(login-bg.png) 0 0 no-repeat;
width:300px;
height:104px;
}

/* The Form ( The login box )
* Background color, border, shadow, etc..
*/
#login form {
background-color:#333;
}

/* The Login Fields
* Username and Password
*/
#login .input {
background-color:#ccc;
}

/* The Labels
* The text above the fields
*/
#login label {
color:#fff;
font-size:15px;
font-size:1.5rem;
}
/*
* The Submit Button
*/
#login input[type=submit] {
background-color:#e74c3c;
border-radius:0px;
border:none;
border-bottom:4px solid #c0392b;
}

#login input[type=submit]:active {}

/*
* The Back to blog and Forgot Password link
*/
#nav a,
#backtoblog a {
color:#000 !important;
}
Save this file as custom-login.css and don’t forget to add your logo image URL into the code.
Save settings and you are done customizing the login page for your blog!
Recommended To Read Next:
If this tutorial was helpful in any way, please consider sharing it online with your followers.

Hi, nice info
Thanks for sharing